2.5" x 3.5" Artist Trading Card
Good morning friends. Today I have some ATC background idea's for you and a tutorial to share with you, "Vasoline Resist". I did the technique on an ATC, but it could be used on canvas or in an art journal as well. First I'm going to share with you my other March ATC's.
All your backgrounds don't have to be technique oriented. Below I have created a couple of backgrounds with pre-made digital ATC's. And on the last one, I scanned a photo of my great grand mother and father.

2.5" x 3.5" Artist Trading Card
For this ATC I was inspired by Stephanie Ackerman's grungy HEart style and how she used numbers on one of hers ATC's. The initial background was from a while back. Sometimes I like to sit and play and just create backgrounds that I can use in the future. So I was having a hard time remembering the technique, but it looks like the same vasoline resist technique I'm sharing with you today.

2.5" x 3.5" Artist Trading Card
This one was a lot easier that it looks. Did you know there are digital ATC backgrounds?? This particular one is by Cemerony at Etsy. I printed the background and simply stamped the bird, bird cage, and feather (Gina K. Designs - Vintage Chic) with my most favorite brown pigment ink I have ever used - Brilliance Pearlescent Chocolate by Tsukineko. The edges are inked as well. I created a paper party streamer ruffle and adhered it under the edge of the background then wrapped with ribbon.

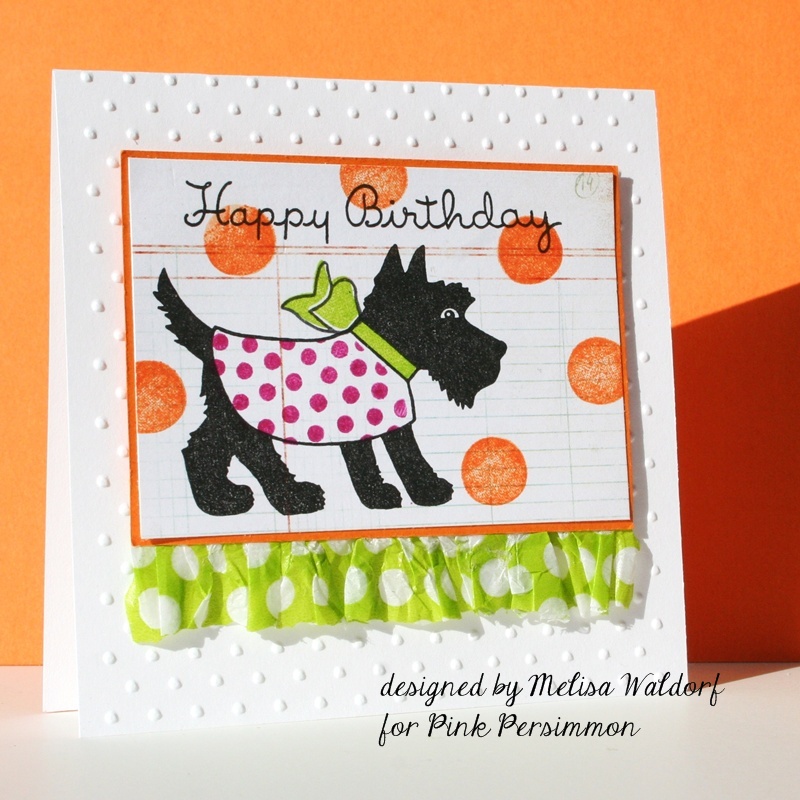
2.5" x 3.5" Artist Trading Card
This is another printed ATC background. Not sure where I got this one ... but here is another one I have orders from - Sabrina. The pair was created by stamping on water color paper and stippline on ink to create the texture. I also rubbed some brown ink around the edges to add some depth.

2.5" x 3.5" Artist Trading Card
On this ATC I started with a scanned photo of my great grand parents. I was inspired by the use of an old black and white photo Stephanie used in her 52 Card Pick Up class. I printed in black and white and then added chalk (Pebbles Inc) to certain area's.
******************************************************************************
VASOLINE RESIST TUTORIAL
I actually did this with 2 different cards so I will share the step by step with both. Depending on how you apply the vasoline you can get a slightly different look every time.
BACKGROUND #1

I started with an ATC size piece of dictionary paper. I did not have vasoline, so I decided to try another form of waxy medium. I used Carmex on one set and Chapstick on the other. Randomly apply your waxy medium which will work as a resist to the acrylic paint. Coat card with blue acrylic paint and then wipe off with a paper towel.

After the paint is completely dried repeat the process with green paint.

I decided I wanted more aqua so I repeated the process again with more blue. All the layers make a great distressed looking background.
Here is the second set :


You can use some sand paper after it is completely dry if you want to distress it a little more.

After I got the distressed look I wanted I rolled on some pink ink using a script pattern with my Rollagraph (Clear Snap). I used the Jumbo "Say What" Pattern. I love how you can roll a tiny amount of the image by picking the wheel up quickly. Creates a random pattern.

I don't use the ink that you can put in the wheel. I just roll mine across one of my ink pads.
Next I splattered on watered down pink acrylic paint. The polka dot washi tape is form Michaels.
I hope you enjoyed today's tutorial and are inspired to give it a try! I would love to see what you come up with.
You can check out more of my Mixed Media Background Tutorial HERE.